


The art of Origami originated in Japan, using folds to create great paper sculptures.
This art of paper folding is popular and paved the way for some other applications and DIY projects.
This Christmas season, many of the DIY projects involve Origami as the base idea for the craft.
This applies origami to tissue rolls.
Today, we’re sharing a paper craft using toilet paper rolls as Winter Ornaments by the Youtube channel Origami Studio.
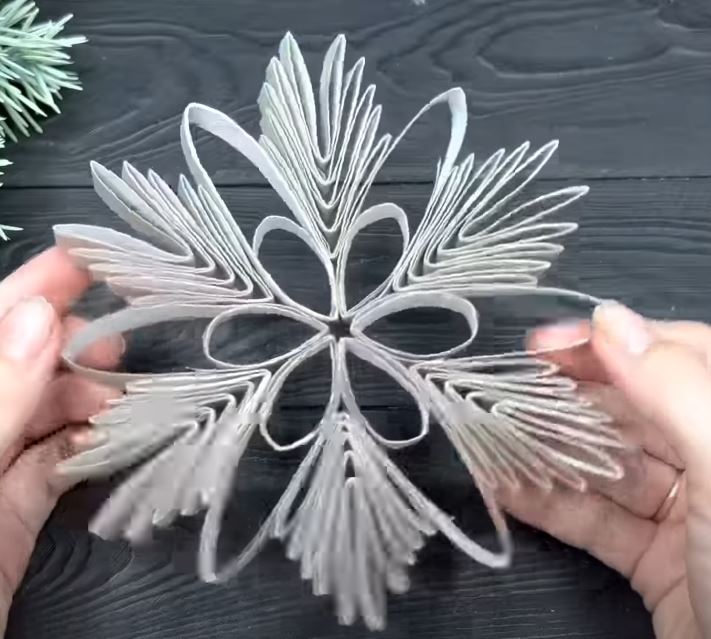
The simple snowflake design will look great when you’re finished and add more texture and vibrance to your home decorations during the Holidays.
This is all you’ll need:
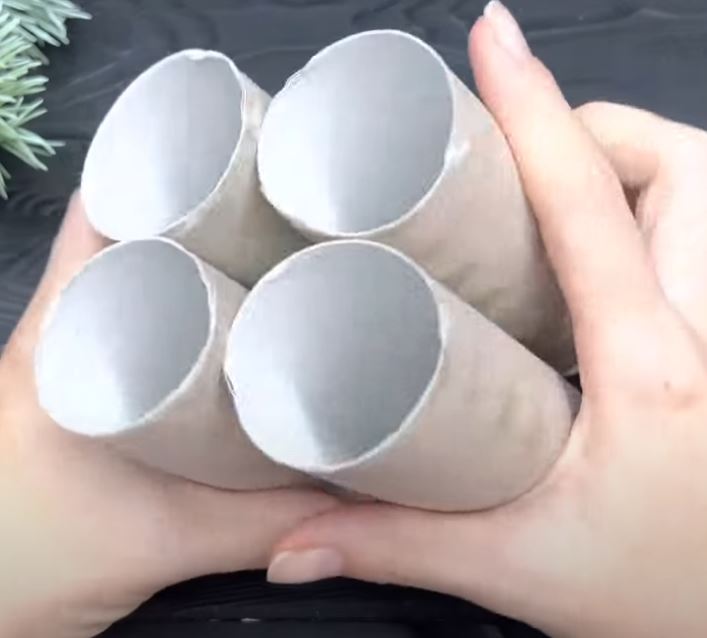
- Empty toilet tissue rolls (~ 4 or 5 for one snowflake)
- Pair of Scissors
- Glue Gun
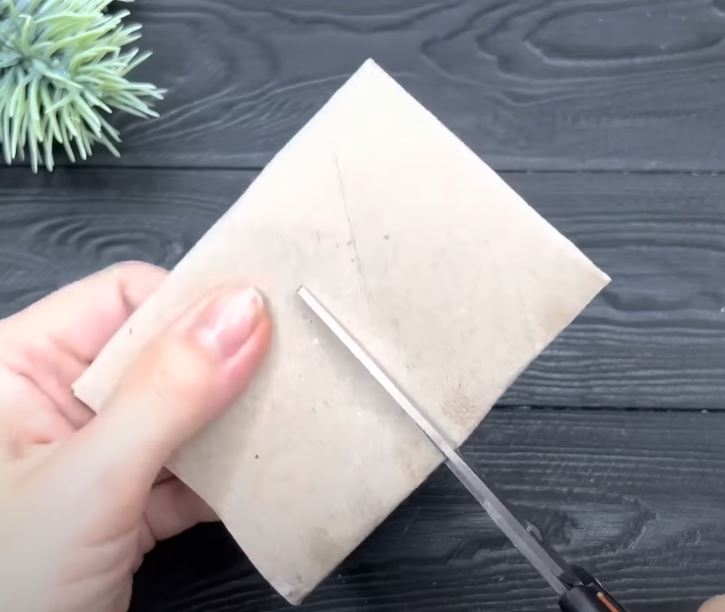
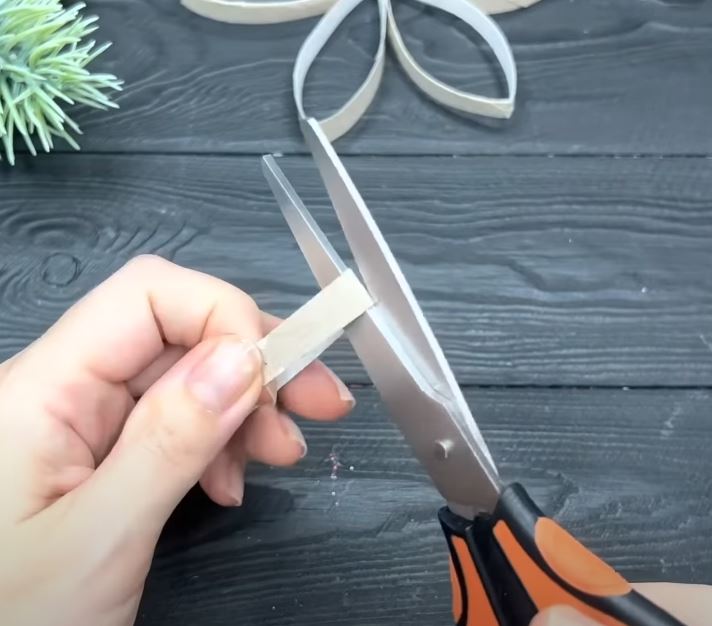
Take an empty roll and fold it lengthwise to flatten it.
Then cut them into smaller pieces from edge to edge, about 1 centimeter thick.
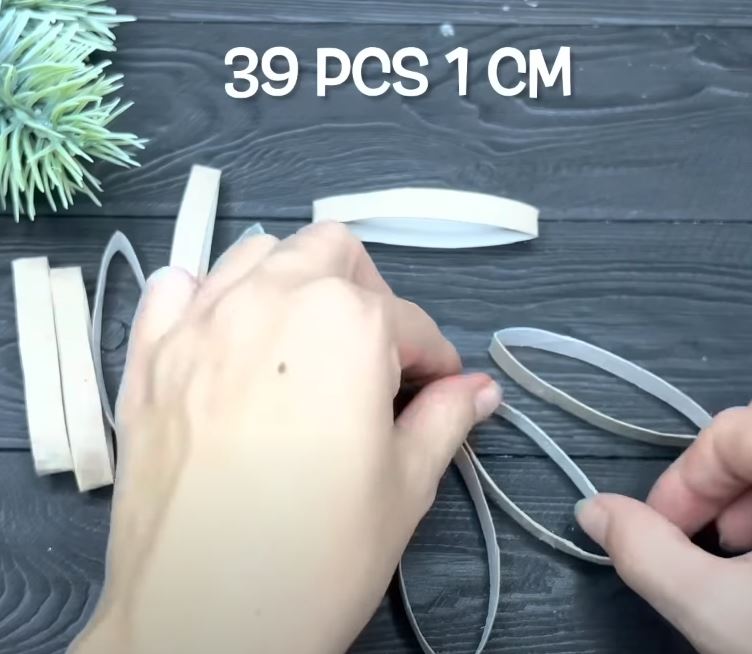
This design requires 39 pieces.
39 of these thin cardboard rings will make one neatly designed snowflake.
So about four to five empty toilet rolls are needed to create one snowflake as big as your hand.
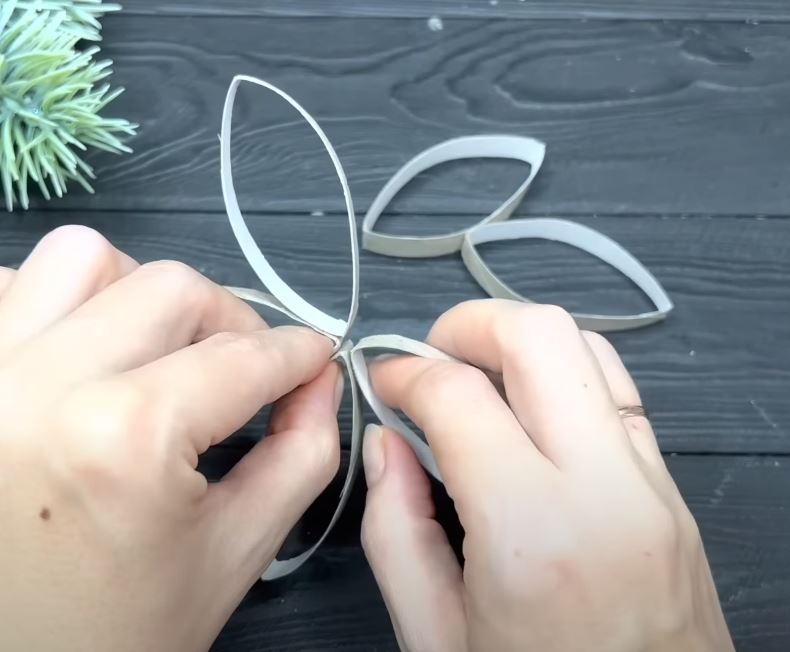
Next is to glue them in batches using a glue gun.
Each batch should have 6 pieces.
Put a fair amount of glue to the side where the fold is, then stick the other piece, joining the edges.
Do this until all of the 6 pieces are glued together. This will be the base of our Snowflake.
Later, it will become more intricate as we add more pieces together.
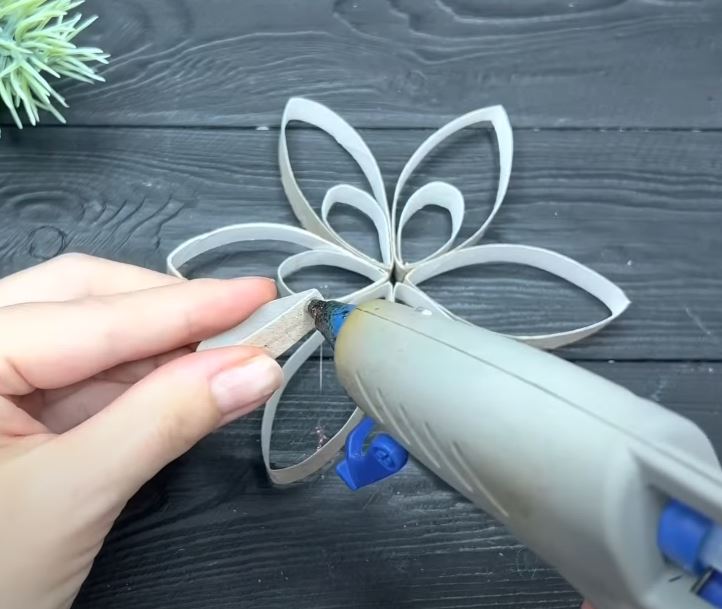
Now take 3 pieces of the cut toilet roll, and cut them along the folded edges.
Glue each end then paste it into the inner side of the base snowflake that you created earlier.
Do this for the other 5 small pieces until all of them are glued together.
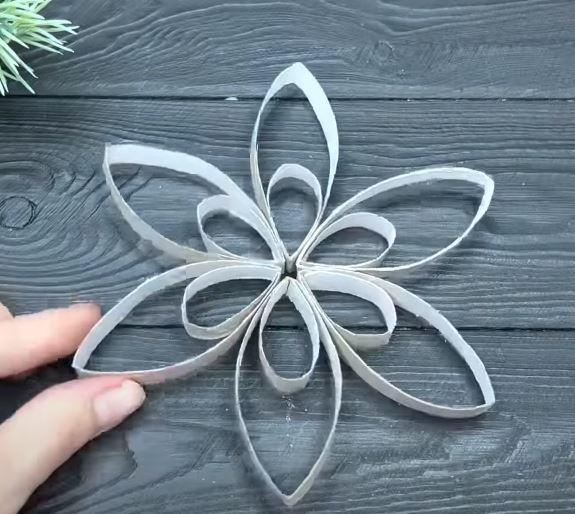
Then add more on the outside.
Take another 5 cut pieces.
Fold each in half and then glue them one by one in the same place on the outer side of the base snowflake.
Repeat this step on the other 5 outer sides.
Now your snowflake is becoming more intricate in design.
You then have the option to color these snowflakes or add glitter to represent the vibes of a winter wonderland.
Hang them as additional ornaments for your Christmas Tree or from your ceiling making it look like it’s snowing inside your house.
This easy project was a hit online.
The video has garnered more than 150 thousand views and 2 thousand likes.
Many appreciated the channel for sharing the idea of using recyclable materials.
“Oh wow! Looks so easy to make, and so a fantastic snowflake! Gorgeous! Definitely, I will try it!!” One user commented.
The finished snowflake really is gorgeous.
Another user shared “These are the prettiest snowflakes I have seen VERY CLEVER THANK YOU.”
And many more commented on their appreciation and admiration for a great work of art.
This Holiday Season is the season of giving and sharing and Origami Studio has done a great job sharing her ideas online so people can also enjoy them.
Some may even improve on what she has accomplished.
See how easily this beautiful origami snowflake comes together in the video below!
Please SHARE this with your friends and family.

