


Are you ready to transform a mundane piece of furniture into a stunning conversation starter?
This DIY project will guide you through revamping an outdated entryway table into a glamorous, gold-accented masterpiece. Whether you’re an experienced DIYer or a novice looking for a fun project, follow these steps to breathe new life into old furniture.

Materials Needed:
- Sandpaper (medium and fine grit)
- Primer suitable for your table’s material
- High-quality gold paint
- Black paint (or a color of your choice)
- Small paintbrushes and a roller
- Contact paper with a chic design
- Clean cloths
- Painter’s tape
- Protective gear (gloves, mask)

Step 1: Prep the Table Begin by placing your table in a well-ventilated area on a protective sheet. Remove any drawers or hardware. Sand the entire surface with medium-grit sandpaper to remove old finishes and roughen up the surface for primer adherence. Wipe down the table with a damp cloth to remove dust, then follow with a dry cloth to ensure the surface is completely clean.
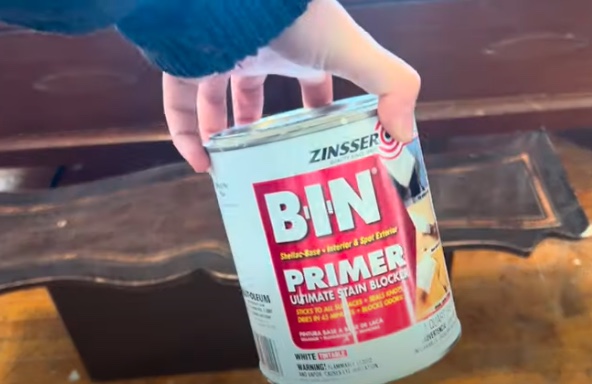
Step 2: Prime the Surface Apply a coat of primer to the table using a roller for flat surfaces and a small brush for intricate areas. Ensure even coverage to prevent drips and uneven texture. Allow the primer to dry completely according to the manufacturer’s instructions.

Step 3: Apply the Base Coat Once the primer is dry, apply your chosen base color (we recommend black for a dramatic contrast with gold). Use a roller for larger surfaces and a brush for edges and detailed areas. Apply two coats, allowing ample drying time between coats, to ensure a rich, even color.

Step 4: Add the Gold Accents Using a small paintbrush, carefully apply the gold paint to the desired areas. This could be the table legs, edges, or intricate detailing. Be patient and use steady strokes for a neat, professional-looking finish. Allow the gold paint to dry completely.

Step 5: Seal the Paint Once all paint has dried, consider applying a clear sealer to protect your work. This step is especially important if the table will be used frequently. Apply the sealer according to the product instructions and let it dry completely.

Step 6: Line with Contact Paper Measure and cut the contact paper to fit the inside surfaces of the table or drawers. Slowly peel back the adhesive side and smooth the paper onto the surface, starting from one edge and working your way to the other to avoid air bubbles. Use a clean, dry cloth to help smooth out the paper as you go.

Step 7: Reassemble the Table Once all elements are completely dry and set, reattach any drawers or hardware that were removed. Take this opportunity to replace old knobs or handles with new ones to complement your table’s new look.
Step 8: Styling and Placement Place your revamped table in its intended spot. Style it with a few well-chosen accessories to enhance its new glamorous look. Consider a decorative tray, a vase of fresh flowers, or a stack of elegant books to complete the transformation.

Conclusion: Congratulations! You’ve successfully transformed an outdated entryway table into a chic, eye-catching piece. This DIY project not only saved a piece of furniture from the landfill but also added a unique, personal touch to your home décor. Enjoy the satisfaction of a job well done and the new life you’ve given to an old favorite.
Watch the full how-to video below and see the final product!
Please SHARE this with your friends and family.


