


The allure of planting garlic in the fall season is not just a gardener’s whim but a pursuit steeped in knowledge and passion.
The journey begins with the selection of a sunny spot in the garden.
As garlic thrives in sunlight, it yields bigger bulbs.
Planting garlic in partial shade or interplanting with other crops has been observed to result in smaller bulbs, emphasizing the importance of dedicating a sunny, weed-free space exclusively to garlic.

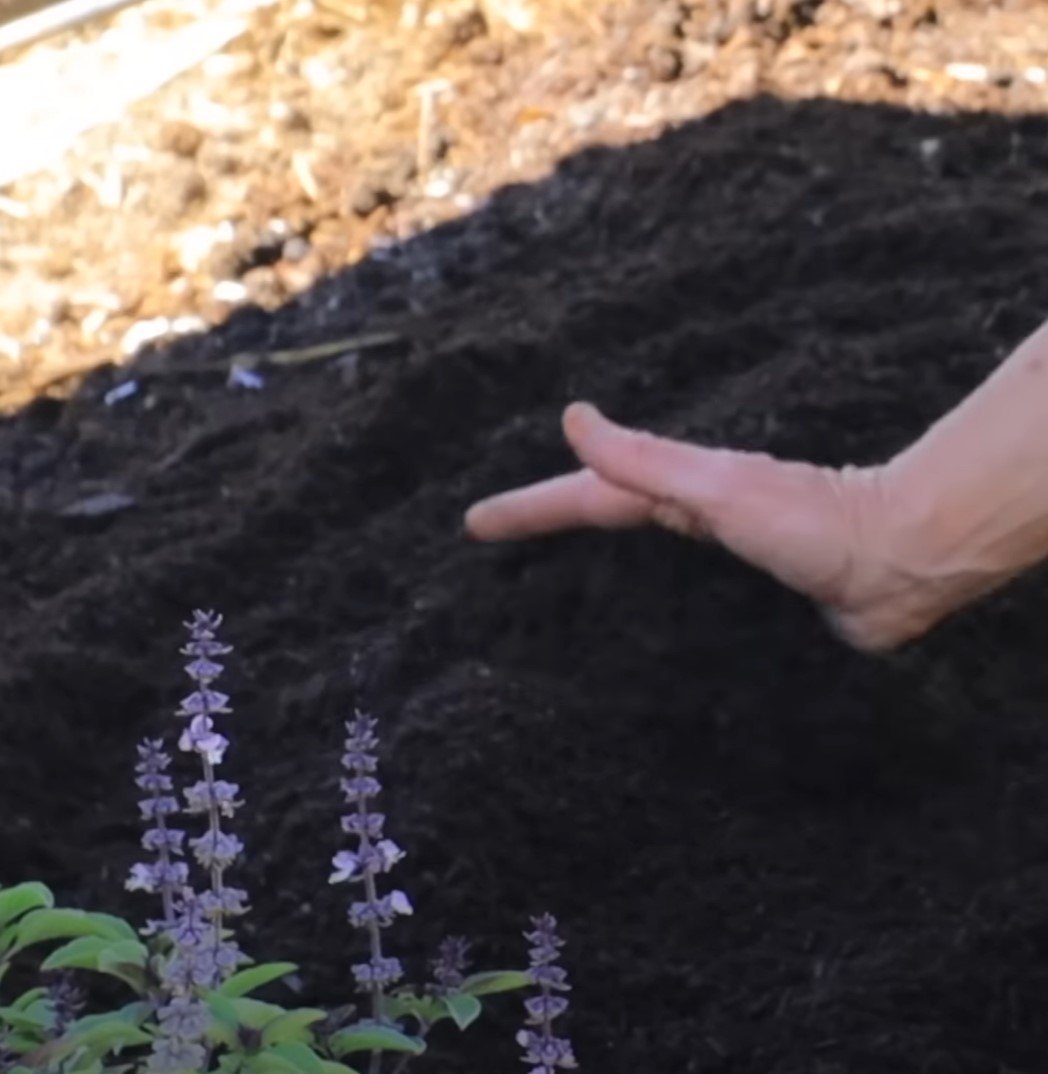
The soil plays a pivotal role in garlic cultivation.
Rich, well-drained, pH-neutral soil, well-amended with compost, sets the stage for robust garlic growth.
Planting garlic two to four weeks before the first hard freeze allows the roots to establish before winter, contributing to the development of bigger bulbs.
In milder climates, planting can extend to December or January, but the bulb size may be compromised.
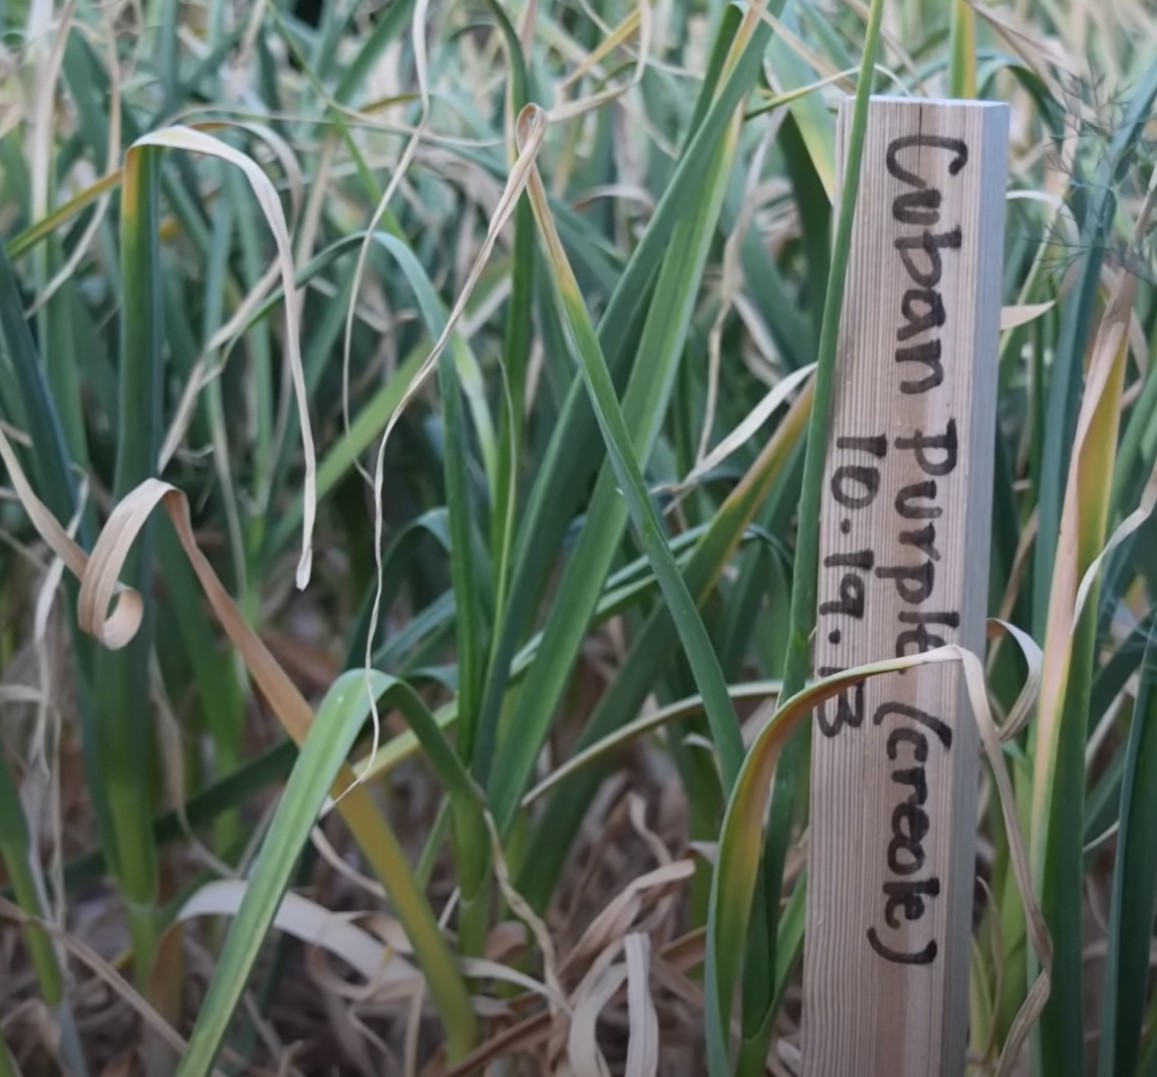
The diversity in garlic varieties is astounding, with hundreds available, each with its unique characteristics.
Soft neck garlic, known for its flexible stem and suitability for braiding, is a beginner-friendly variety that adapts to various climates, especially mild ones.
Hardneck garlic, distinguished by its hard stem, offers a range of flavors and is renowned for its taste but has a shorter shelf life and is less suited to mild climates.
Elephant garlic, related closer to leeks, are known for their colossal size and milder flavor.

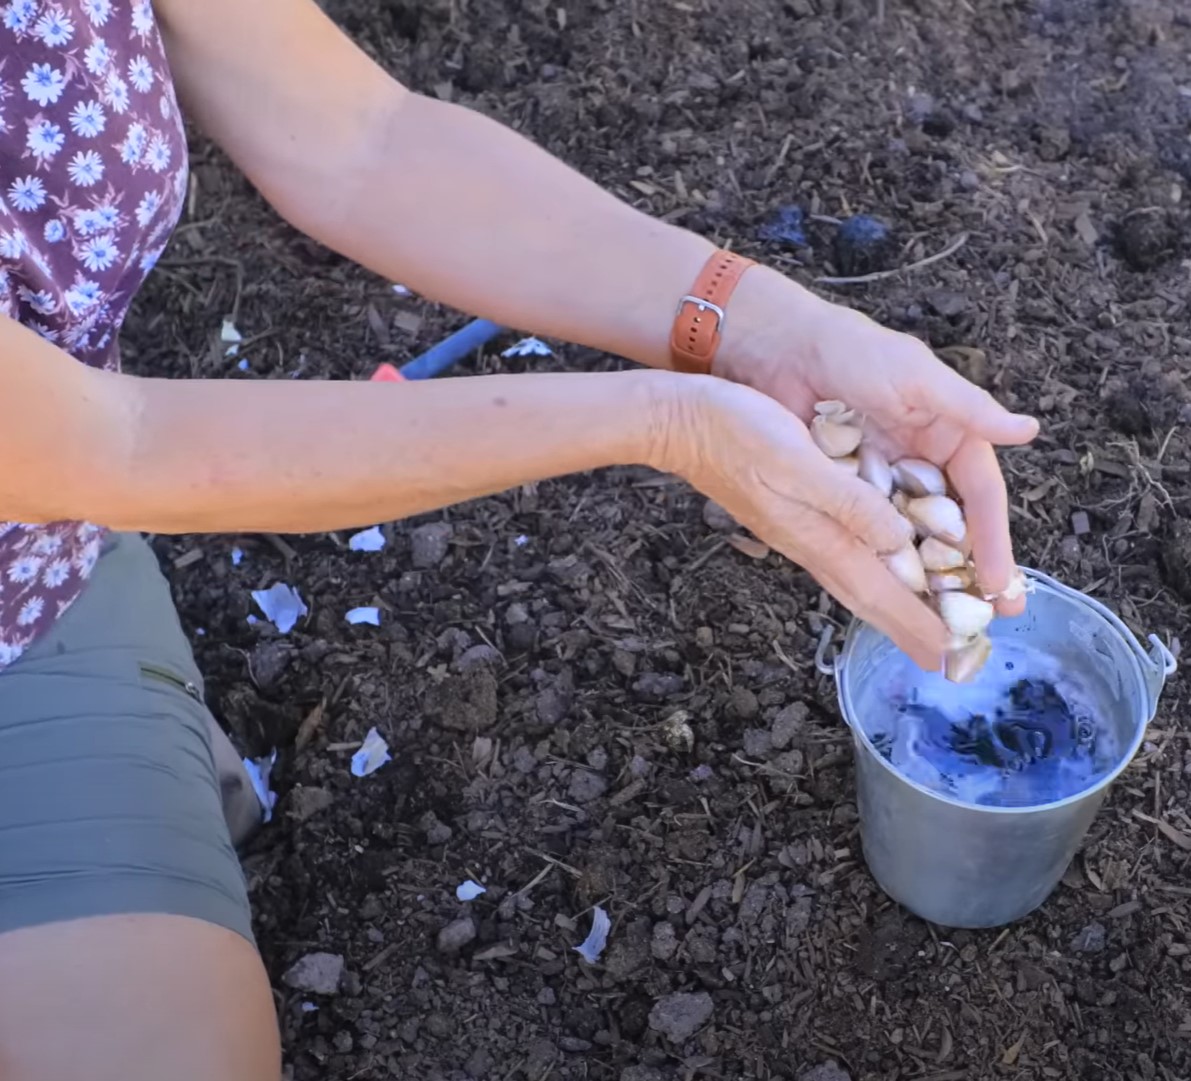
A meticulous approach to planting involves soaking the garlic cloves in a solution of water, baking soda, liquid kelp, and humic acid.
This step, although optional, is crucial for yielding healthy and big bulbs.
The solution helps prevent the transfer of any fungal or bacterial infections and aids in faster root system growth, contributing to the overall health and size of the bulbs.
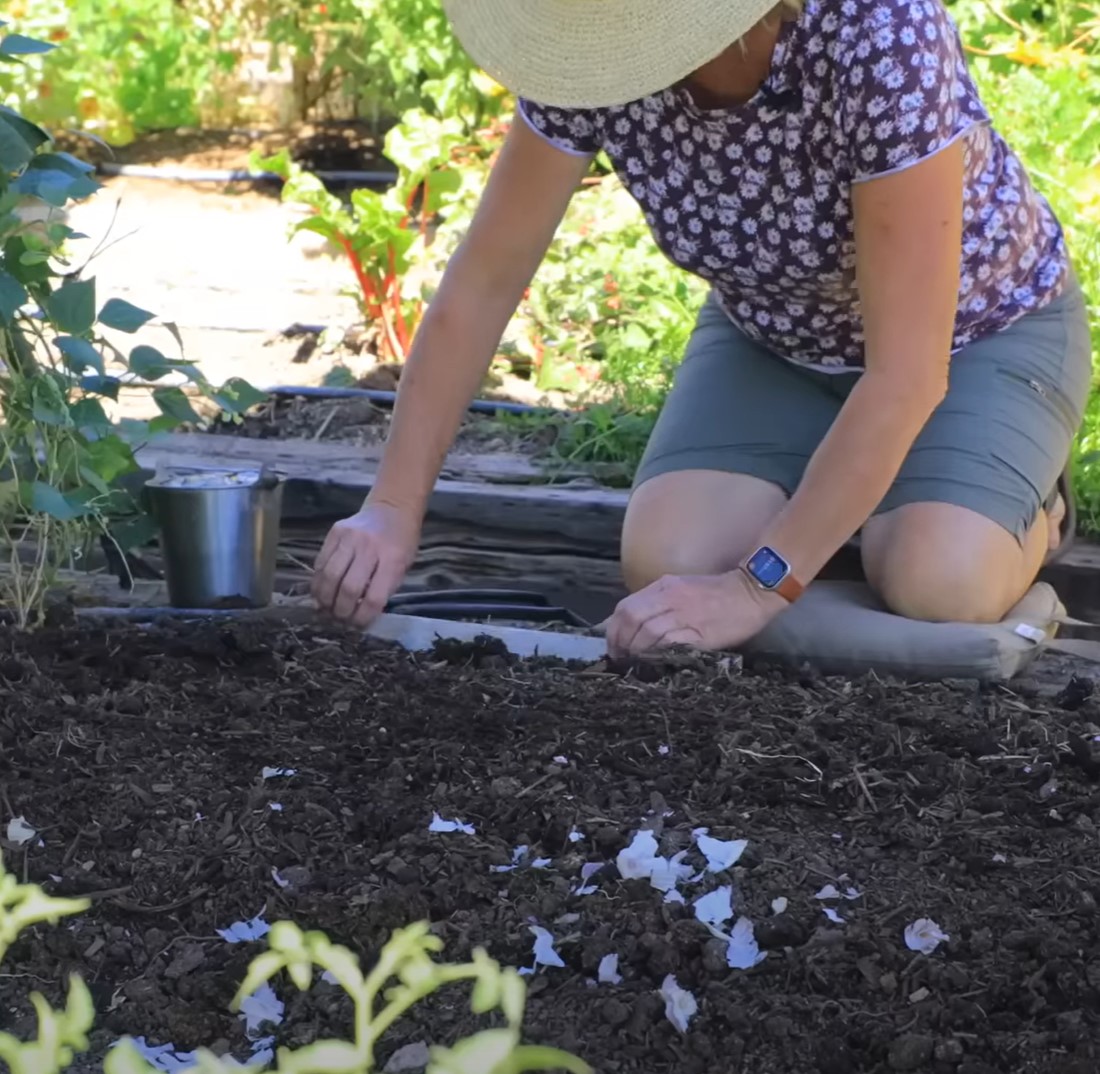
After selecting the ideal location and preparing the soil with well-rotted compost and nitrogen-rich fertilizers like blood meal, the planting process begins.
The cloves are planted with the root end facing downwards, spaced four to six inches apart for hard neck and soft necks, and six to eight inches apart for elephant garlic.
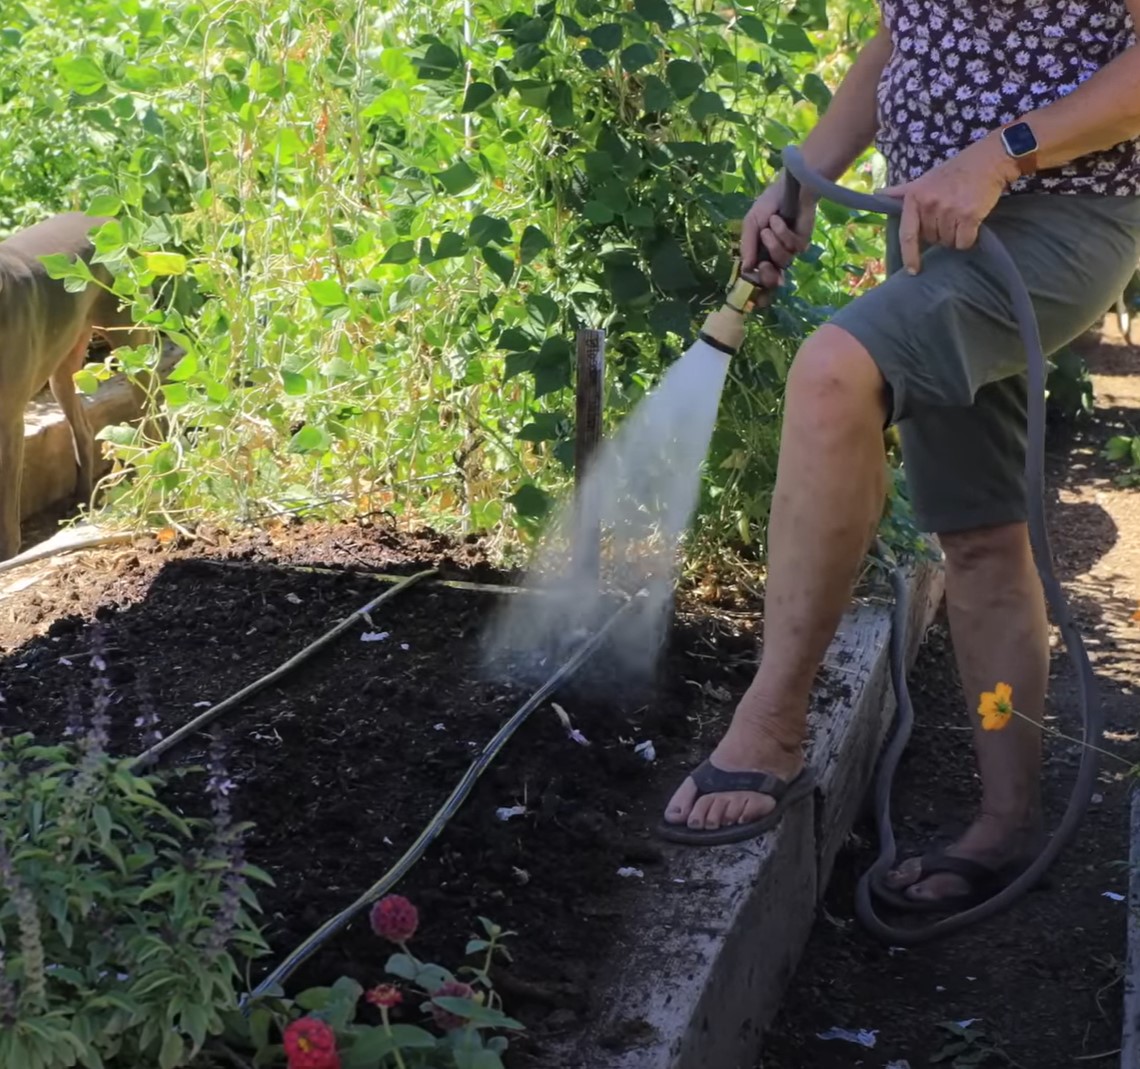
Proper spacing and adequate watering, even during winter, are essential to avoid small bulbs.
Crop rotation can be a significant aspect of garlic cultivation, although some gardeners, due to specific conditions like wind protection, might choose not to rotate.
Mulching is another crucial step, especially in cold environments, to protect the garlic cloves during the cold winter months.
It prevents the garlic from lifting up due to freezing, which can damage the root system and the bulb.
These steps may seem like “extra”, but the benefits are definitely worthwhile.
It’s ready to harvest when 40 to 50% of the leaves start to turn yellow and then brown.
For hard-neck garlic, the development of a seed head or scape is a sign that it’s maturing, and harvesting the scape puts more energy into the bulb, resulting in a bigger bulb.
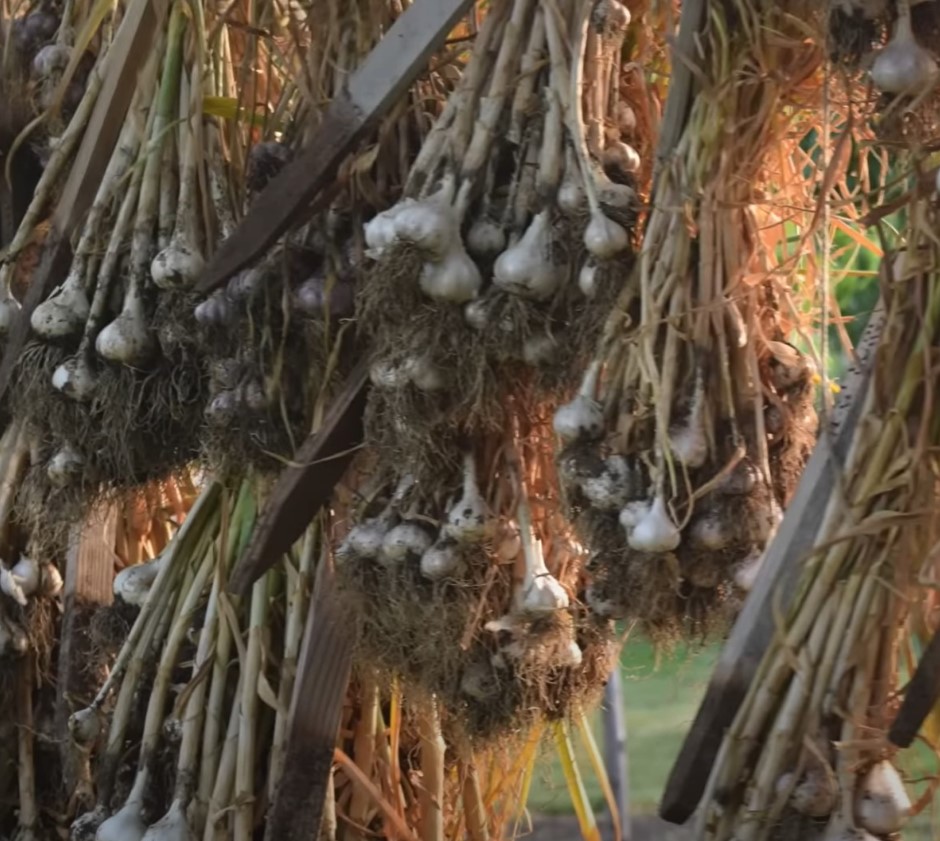
Proper curing of the harvested garlic is essential, and it can be done by laying it out on a single layer on some mesh trays or hanging it in bunches under a carport, a barn, or under a tree.
Once cured, the garlic tops are cut off one to two inches above the bulb.
From here, they are stored in well-ventilated netting bags or crates at temperatures between 55 and 65 degrees.
Low humidity is important to prevent the garlic from sprouting prematurely.
Saving the biggest bulbs for planting the next season ensures the life cycle of big garlic bulbs continues, and the smaller ones can be used for cooking, dehydrating, and making garlic powder.
The meticulous and passionate journey of planting garlic in the fall season, from selecting the sunny spot and preparing the soil to choosing the variety and the careful planting process, culminates in the joy of harvesting big, healthy garlic bulbs.
The knowledge and tips shared in this video illuminate the simple yet profound pleasures of growing garlic at home.
Gain some fresh garlic gardening perspective with Ali’s wisdom in the video below!
Please SHARE this with your friends and family.


