


Old glass jars are a favorite for the recycling DIYer. Whether they’re old mayonnaise or pickle jars, it always feels like a waste to throw it away.
There’s nothing like a perfectly good glass container to store things like oatmeal, sugar, small beads, and everything of the sort.
If you’re going to be reusing old glass jars, you may as well harness your creative spirits and customize them a bit.
This is the perfect jar project.

It took some tape, acrylic paint, and some special brushes – including a blender.
It may be a humble glass container right now, but that’s all going to change in a few minutes.
It all starts with some tape and green paint. Acrylics are what you want for this one. Nothing blends and sticks onto surfaces quite like acrylic paint.

The person in the video uses two strips of tape to line the sections of the jar that they don’t want paint on.
And with a brush, they begin applying the shade of blue-green carefully. It’s only meant for the top and bottom thirds of the jar.
The middle section is meant to stay unpainted. Evidently, the tape does a good job and ensuring that.
But we don’t just want a flat coat of paint on this jar.
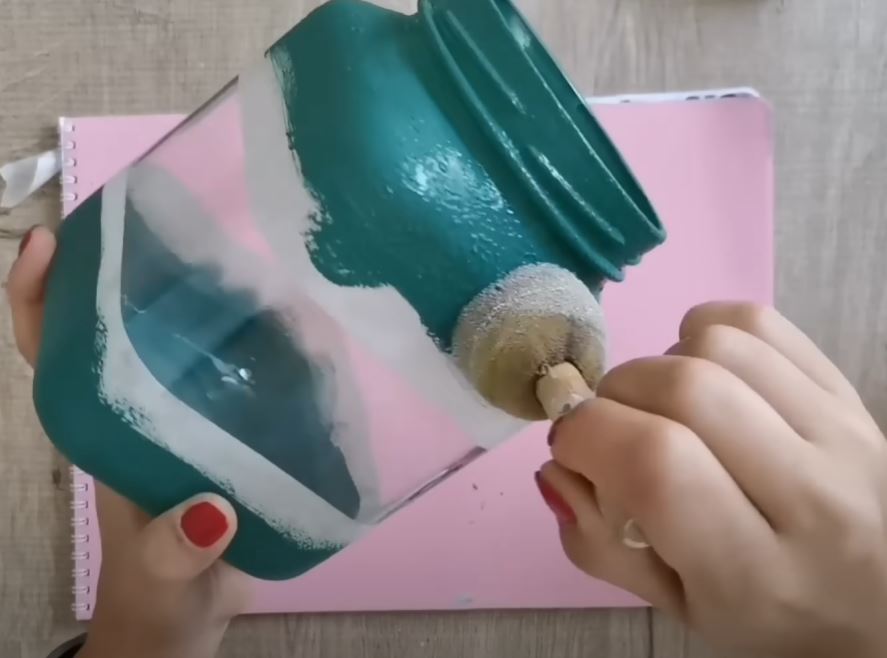
It looks too sloppy as is, with obvious strokes from the direction the brush was going. That’s where the blender comes in.
Much like a makeup blender that women use, this one will even out the acrylic coat and even leave a nice, rough texture.
By going over top and bottom with this, the paint ends up looking much smoother and more consistent.
Just the thing you want for a DIY project, right? After the paint dries, it’s about time to remove the tape.
This bit is oh-so-satisfying, as you can guess.
When the tape’s removed, it reveals a clean area where the paint line stops perfectly.

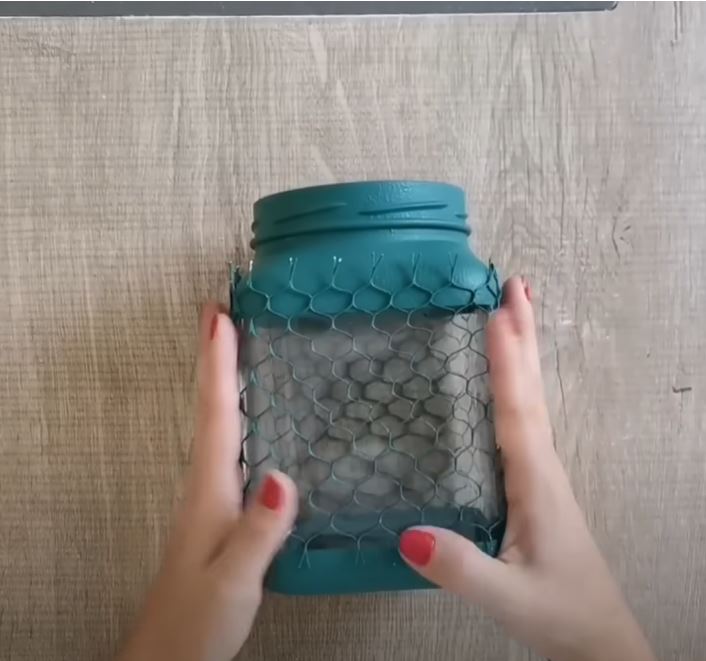
The next material to come up is some net. Specifically, the kind that’s used to package and protect bottles.
To color-match it, it first gets painted with the same coat of paint.
Then it gets measured and cut, leaving a section that can fit over the jar like a sleeve.
It may look like it’s coming together already, but we’re not finished yet.
Next to be applied is some gold adhesive strip.
Now this should really make the piece stand out.
Of course, you need to clean up the edges of the rope to make sure everything’s neat and tidy
. Wouldn’t want that adhesive to have any trouble attaching, would we?

Just take a pair of scissors and start trimming off any loose or hanging threads from the net.
Generally, you want the edges trimmed and straight so that the adhesive strip can wrap around it nicely.
Wrap the gold strips around the edges of the net, and around where the lid goes as well.

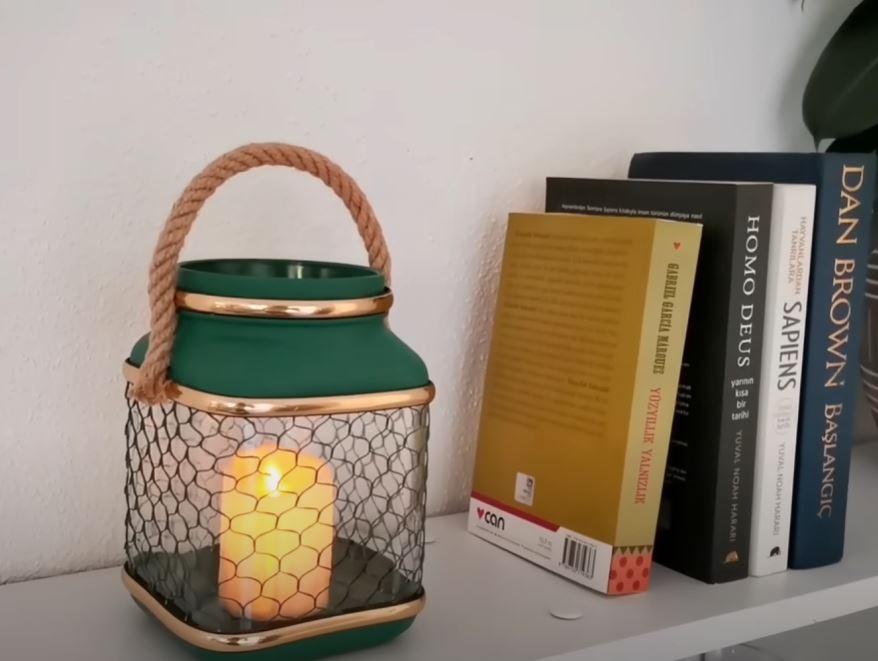
Last, but not least, take some jute rope and cut a small piece off to form a handle.
Use hot glue to attach it to either side of the top of the jar.
Now, look at how awesome of a project that is.
Place a candle in it and watch it instantly make your room look way better.
See it come together in real-time, in the video below!
Please SHARE this with your friends and family.

