


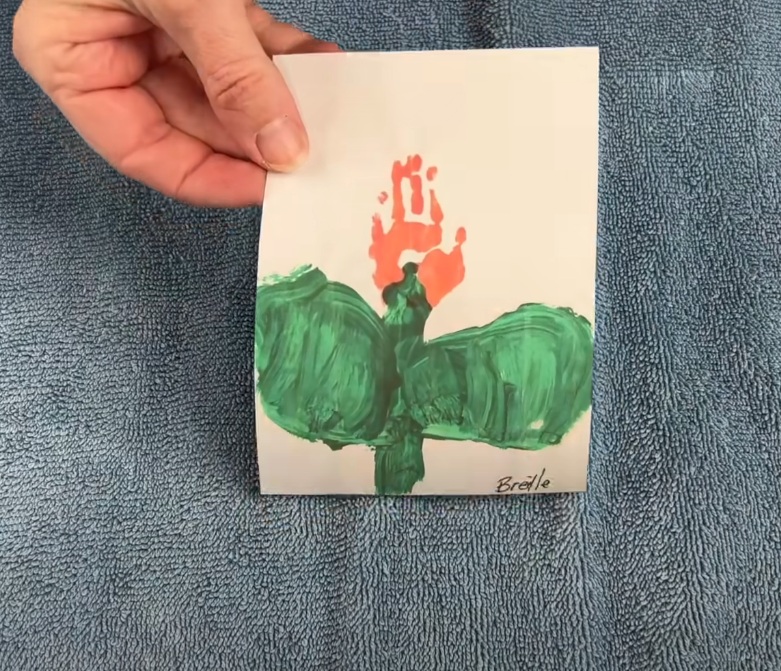
When we have kids, most of the time, we also have a collection of their artwork.
They’re too precious for us to throw away, but sometimes, our walls aren’t enough to accommodate all of them. In time, some of them also get lost or fade.

Surely, you have already thought of many ways in which you can preserve artwork.
Hometalk shares three easy ways how you can preserve artwork, and more!
Customized cutting board
Here’s what you will need:
Cutting board of your choice
Printed art piece
Transfer paper
Stencil tape
Pen
Wood burning tool
Steps to customize your cutting board:
Prepare your cutting board, and print the artwork of your choice.
Trim the printed artwork down until you have the letters that you will trace with transfer paper.
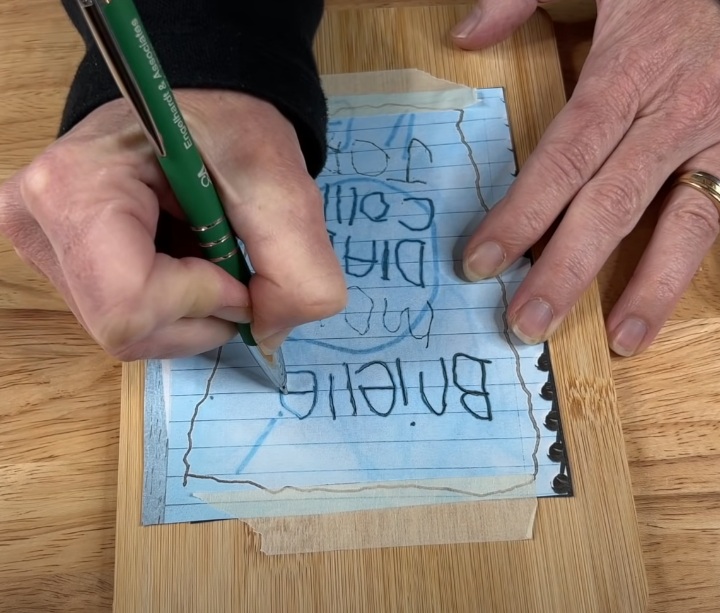
Tape the artwork on the cutting board, and using a pen, trace the words. Once you’re satisfied with the results, get your wood-burning tool.
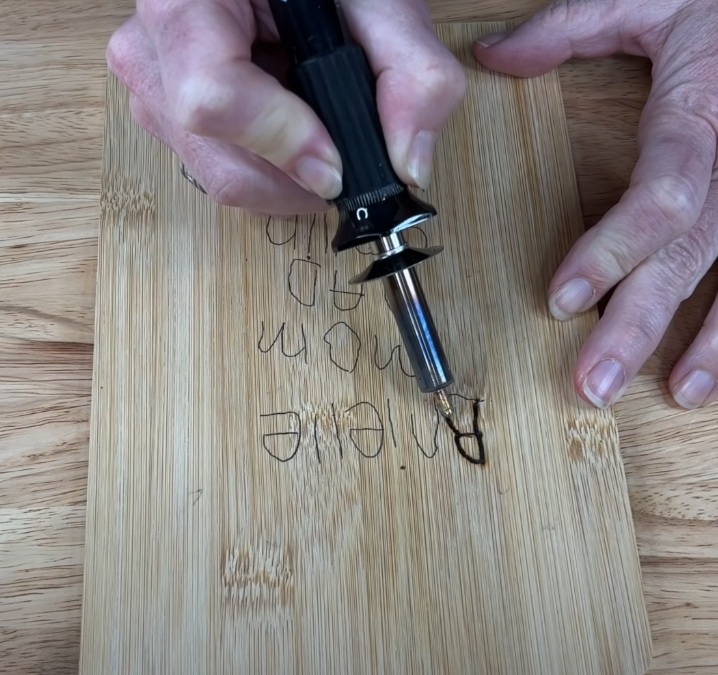
Set at the highest temperature, carefully trace the letters on the cutting board until you achieve your desired outcome.
Customized artwork mug
Here’s what you will need:
Waterslide Decal Transfer paper (Transparent)
Artwork of your choice
Scissors
Old cardboard box
Gloves
Spray paint
Krylon Crystal Clear Gloss
Water
Small bowl
Mug
Steps to customize your mug:
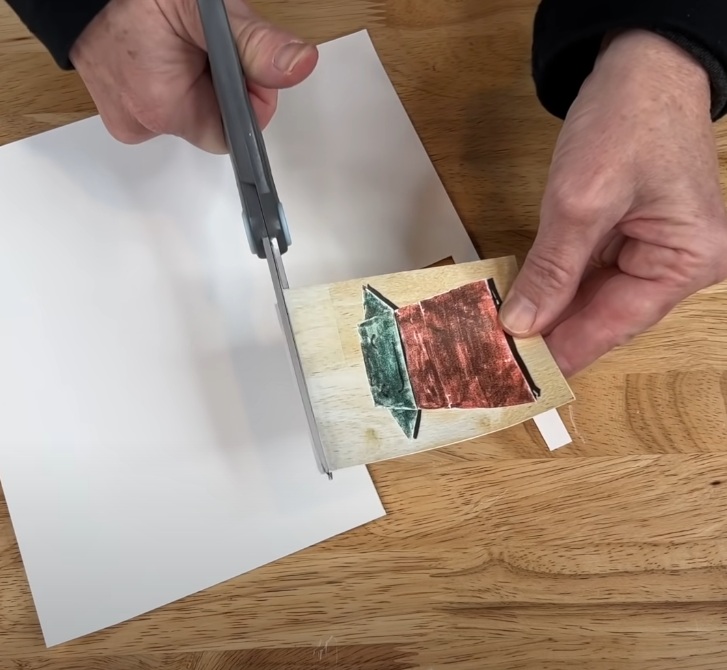
Print the artwork on your waterslide decal paper and trim it to the desired shape.
Place it on an old cardboard or box, then wear your gloves. Spray Krylon Crystal Clear Gloss, and let it dry.
Once that is done, place it in a small bowl filled with water. It’s important to read the instructions on your waterslide paper as well.
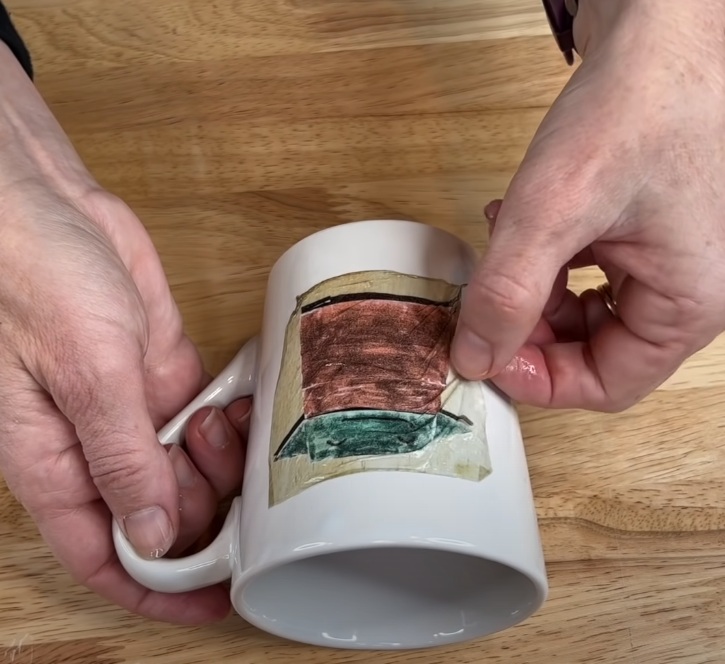
Get the transfer carefully and slowly put it in your mug. This will be tricky since it’s easy to get crumbled. Get all the bubbles out and try to smoothen it. Let it dry.
Bake it in the oven for 10-15 minutes at 230 degrees. That’s it!
Customized dish towel
Here’s what you will need:
Print and transfer paper
Artwork of your choice
Dishtowel
Flat iron

Steps to customize your dishtowel:
Print the artwork on the transfer paper and let the ink dry.
Wash and iron your dishtowel, and once that is ready, get your printed artwork.
Take the photo and place it upside down and center. Then, using your flat iron, go over and back and slowly iron the transfer paper.
This is how the image gets transferred to the dishtowel.
Do this for around 30 seconds, but it’s also important to read the package instructions of your transfer paper.
Once you are done, let it cool.
To test if it’s ready, try to peel it at the corner. If it doesn’t come out, you may need to iron it once more. Let it cool again.
Carefully remove the transfer paper and that’s it!
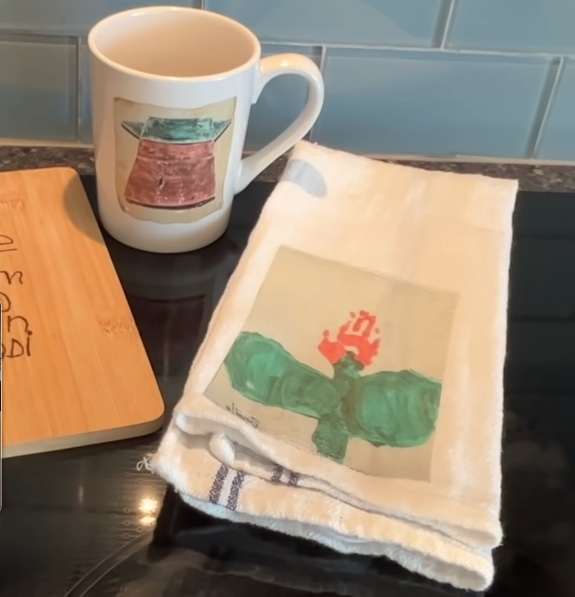
All three DIY crafts are so easy and fun to do. Aside from that, you can start making a collection of your own artwork or your children’s drawings.
What we love about this is that you can design your home with your own art and your kids will surely love it!
Watch the full tutorial below.
Please SHARE this with your friends and family.

