


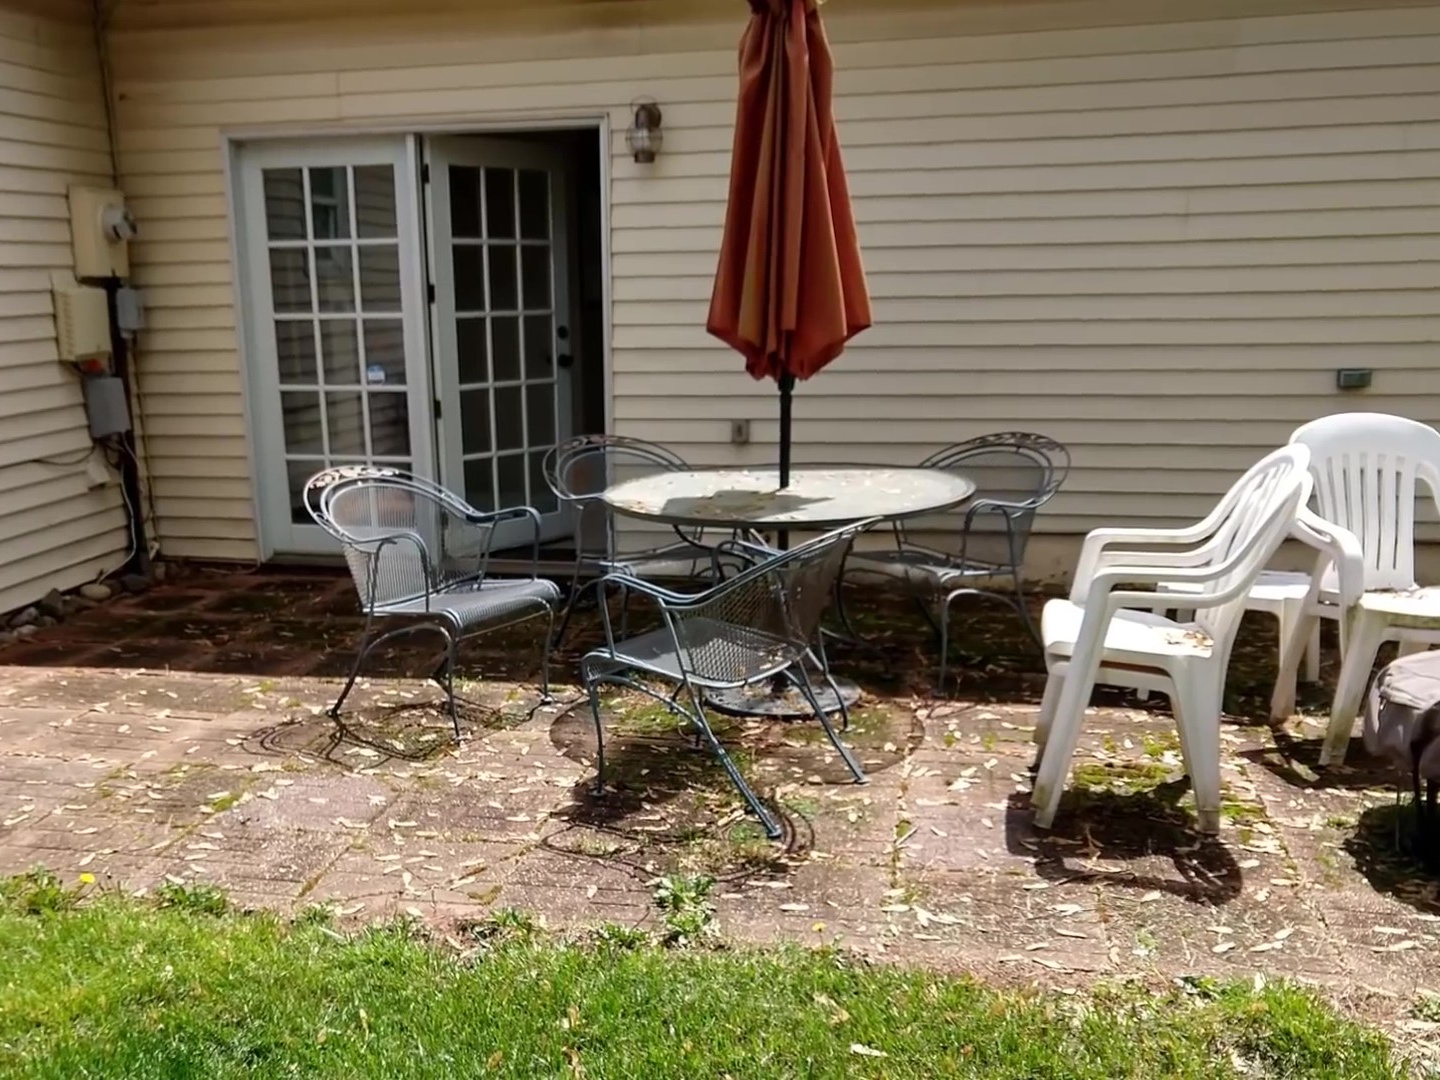
It’s the longest break once more, so you know what that means.
It’s time to get the shovels, picks, and other tools and get onto the project you’ve long set aside.
After all, the urging from your partner to finish the project should end one way or the other.
Thankfully, this project is easy.

In this video, you’ll we’ll be covering how to repair, refurbish, and build a paver patio.
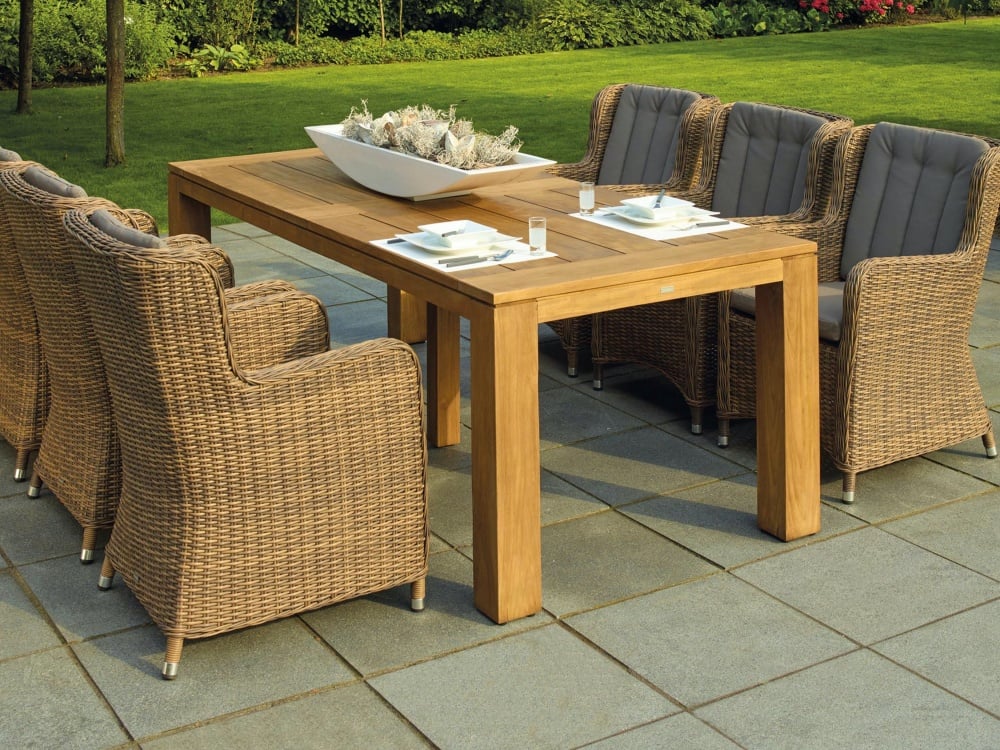
A paver patio is a “deck” in your front or backyard, lined with stone.
Paver patios have advantages and disadvantages.
Firstly, they are definitely sturdy when built correctly.
They are relatively easier to assemble than a raised wooden deck.
And lastly, they’re easier to repair and extend.
The disadvantages.
Firstly, paver patios are usually leveled. This means that drainage can be a problem.
Undrained water can lead to moss growth, which can make the stones slippery, and overgrowth in between the stones.
So how can you build the patio all by yourself?
Properly measure your work area so you know how much material you’ll use.
Mainly, you need the patio stones, fabric weed fiber, and lining sand.
You can also use gravel but it can take more time.
There are panels you can use which cost double the gravel but would entail less work.
We think the tradeoff is fair.
After making the necessary measurements, it’s time to start digging.
Make sure to contact your county officers to mark the utility lines.
Next, clear out your work area by removing stones and other debris.
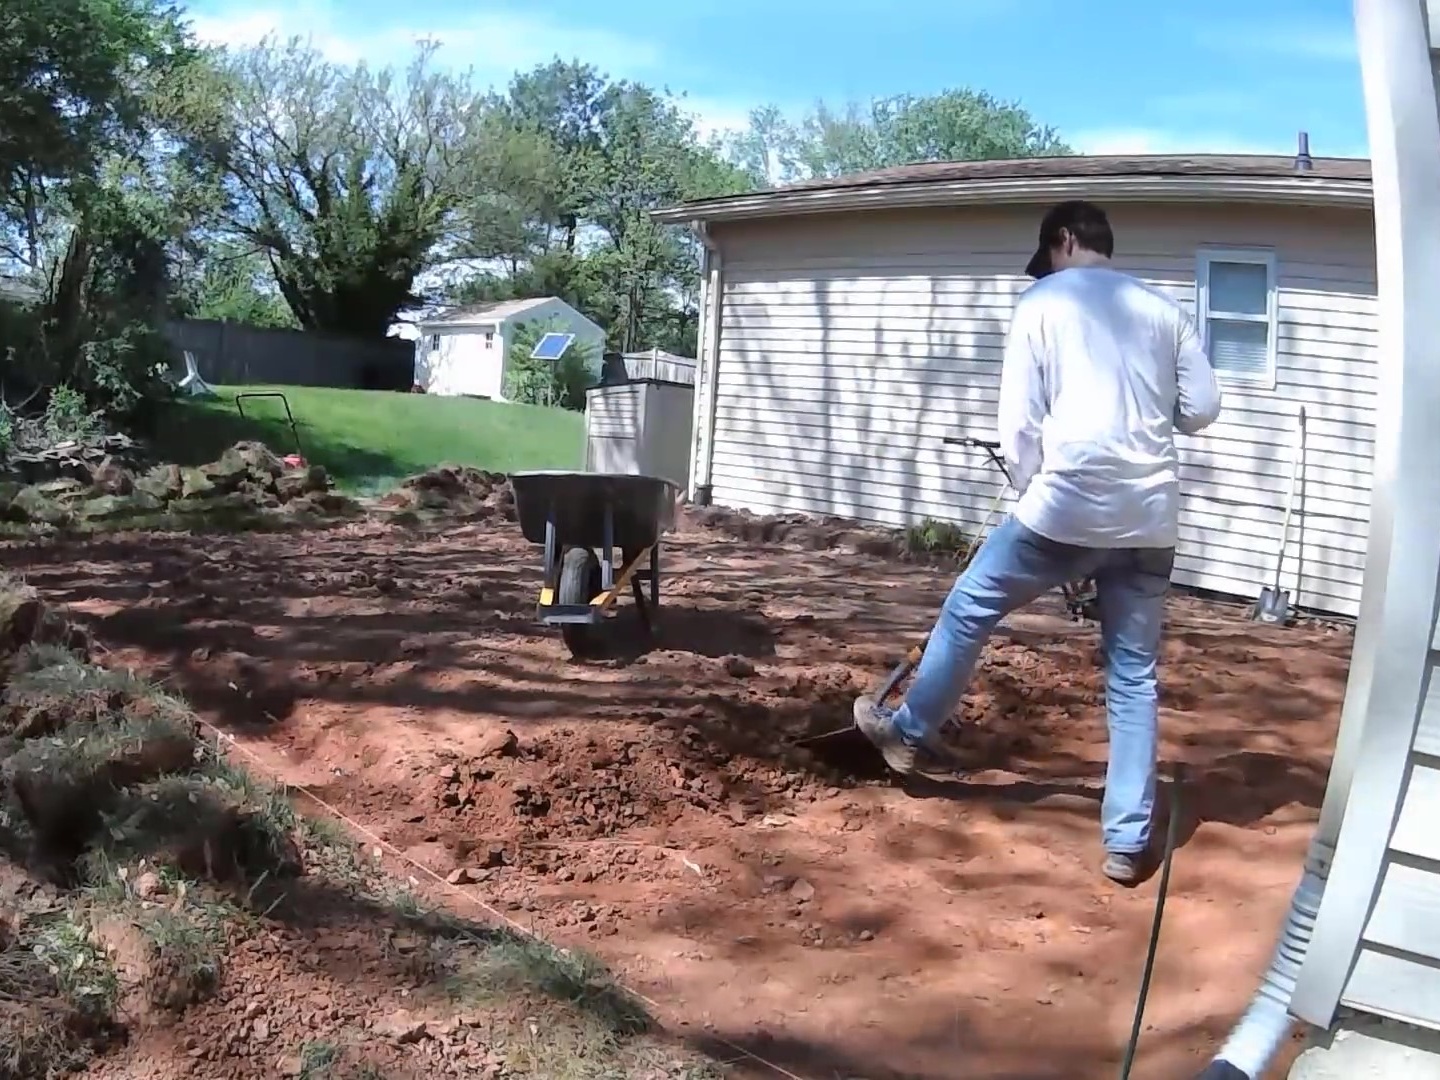
Don’t forget to factor in slope.
When digging and leveling your deck, make sure that it slopes a bit to have better drainage.
This can help you in the long run.

Loosen the dirt and rent a plate compacter to press the dirt tightly.
Wet it down to set it, then install the fabric weed fiber.
This will deter weeds from bursting through the stones and will prevent the sand from being washed away.
Next, line the area with sand.
When you’re using paver panels, you only need about half an inch of sand.
To measure it easier, you can buy two half-inch rebar and line it down the work area.
Fill the space between the rebar with sand and screed it.
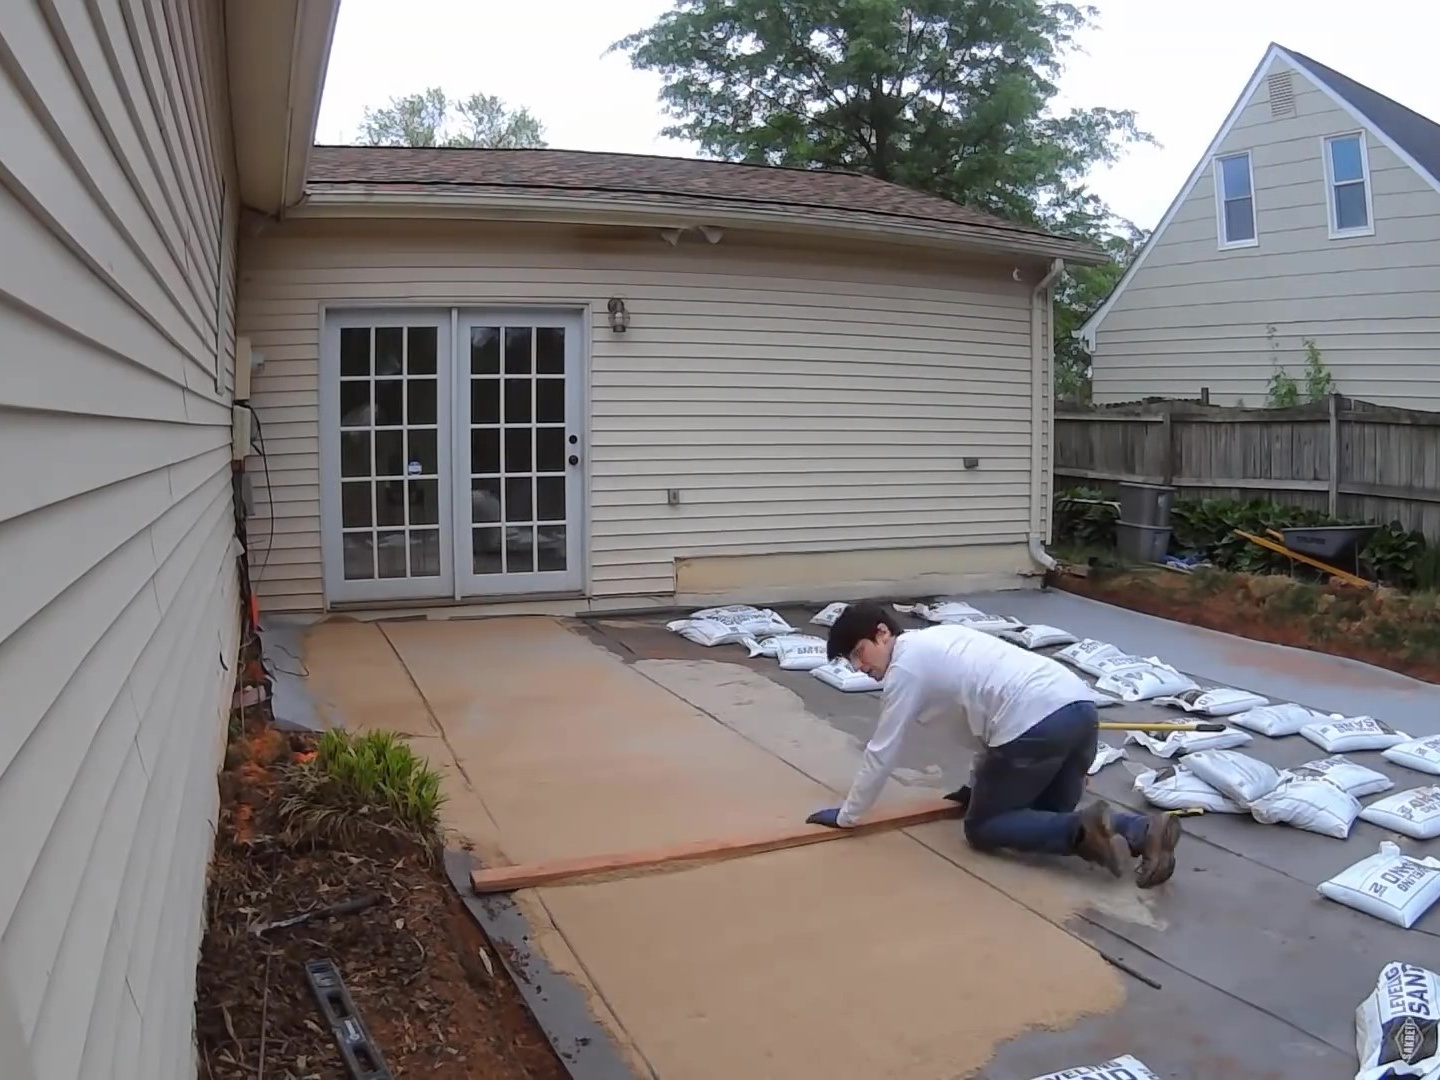
Repeat the process until the work area is filled.
After that, press the sand down to make it compact.
Make sure to measure your slopes every now and then.
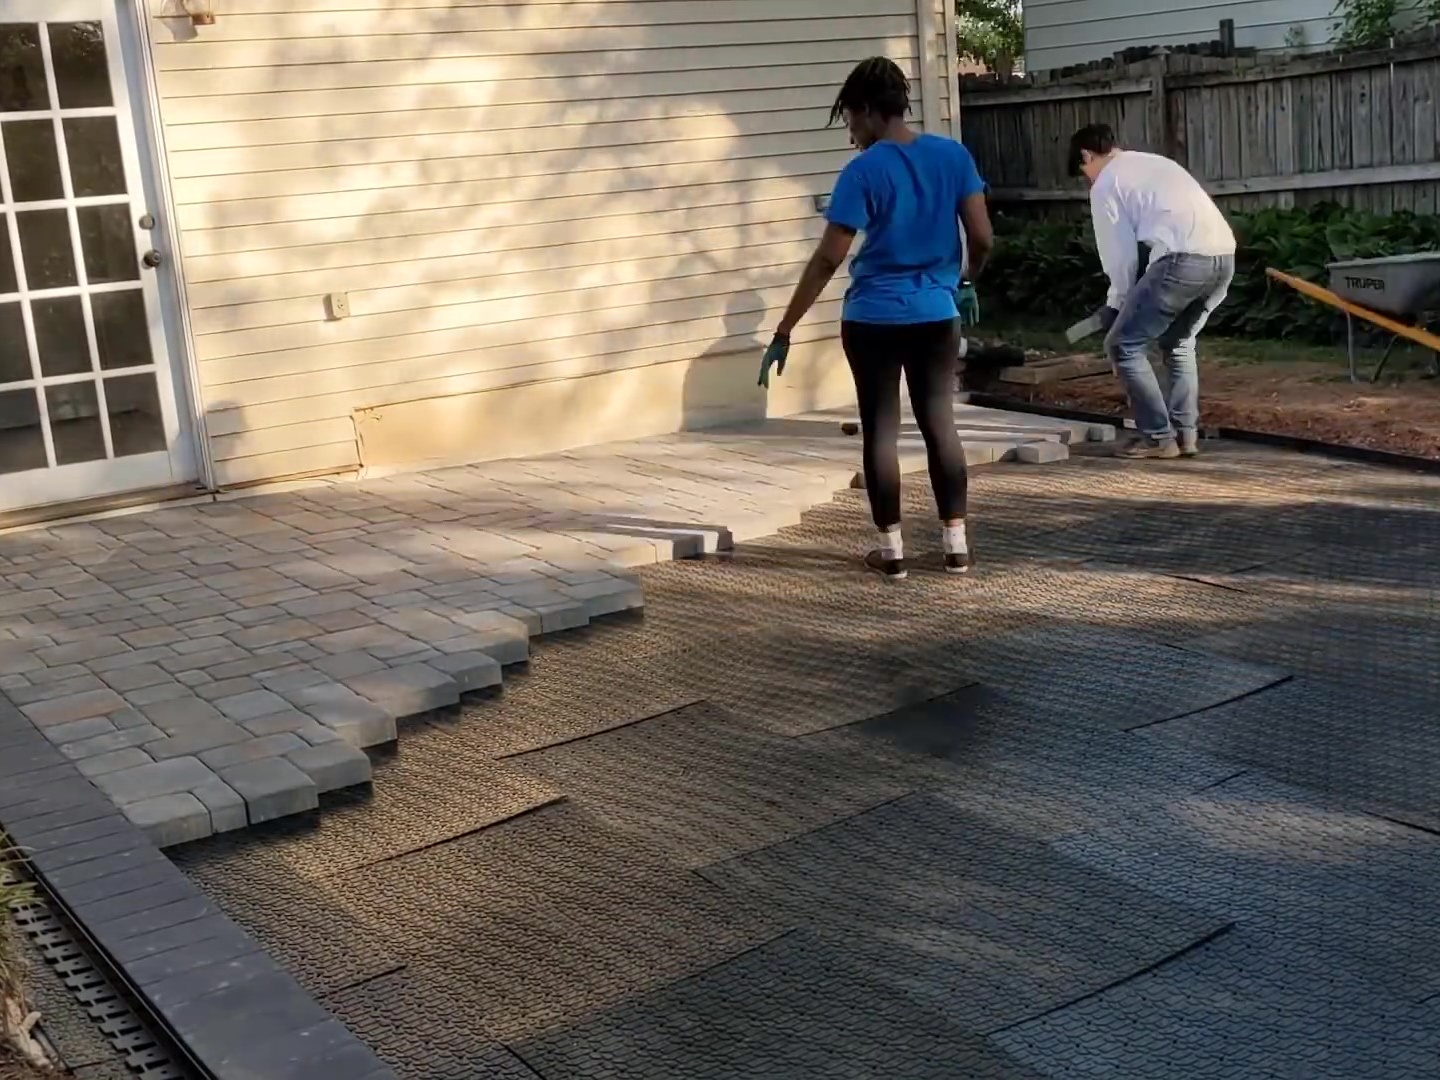
Now, line out your paver panels.
Lay your panels like bricks – with the next panel sitting between the gap of the panels beside it.
Lay down the stone panels and arrange them in your envisioned pattern.
When all your stones are in place, dust some polymetric joint sand onto the stones to fill the gaps between the stones.
Vibrate sand to set it deeper.
Dust with more polymetric joint sand, then using a leaf blower, blow off the excess sand on the surface.

Set your garden hose to mist then wet the patio to activate the sand.
Let it dry and place your patio chairs.
Learn how to save over $10,000 building your own paver patio in the video below!
Please SHARE this with your friends and family.

