Featured
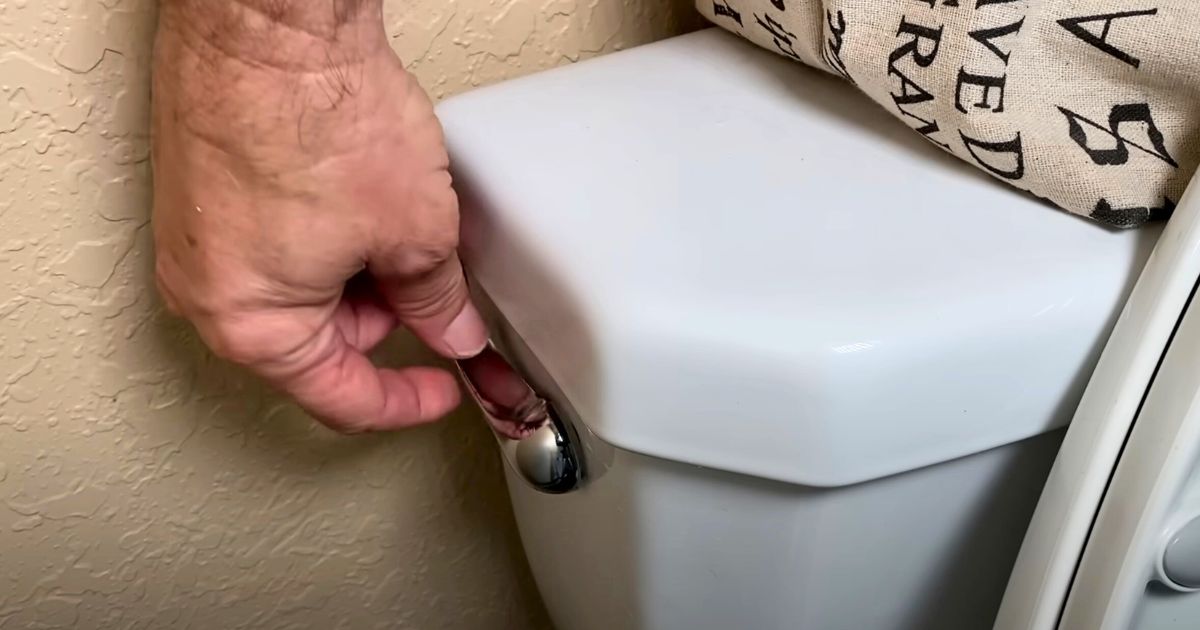

Handyman Shows Easy Method To Fix Weak Flushing Toilet
A weak toilet flush can quickly turn into a frustrating issue if left unresolved. The good news is that most problems can be fixed with simple tools and techniques. Start by ruling out the most common culprit: a clog. Pour a bucket of water directly into the toilet bowl; if it drains quickly, the issue...
Jake Manning
01.15.25
Stay up to date on the latest stories on Home Hacks.
By signing up, I agree to the Terms and Privacy Policy


Thanks for signing up!
You're now subscribed to the latest stories.
Trending
After teen’s suspended, mom dishes out unique punishment that has neighborhood applauding
Jake Manning
11.30.24
Trending
Gigantic husky has ‘adorable’ first meeting with tiny baby brother
Jake Manning
11.30.24
Trending
Nervous young teen forces judge to spin around singing “Dancing in the Dark”
Jake Manning
11.30.24
Trending
Woman smacks a wild horse with a shovel not anticipating horse to deliver swift karma back
Jake Manning
11.30.24
Trending
Man records woman on wakeboard, gets 22M views capturing group of creatures playing with her
Jenny Brown
11.30.24
Trending
Walmart employees light up the store with popular line dance
Jake Manning
11.29.24
More Top Stories
Tours
Tours
Teacher downsizes to 103-sq-ft home for debt-free living and shows how adorable it is
Jake Manning
08.14.24
Tours
Man buys decrepit house for $5K and turns it into a modern gem
Jake Manning
08.01.24
Tours
Woman transforms old garage into a gorgeous home fit for a queen
Jake Manning
07.23.24
Tours
Couple moves into 140-year-old home and discovers incredible treasures hidden throughout it
Jake Manning
07.22.24
Tours
Mom lives in self-built boat with kids and it’s their own slice of paradise
Jake Manning
07.19.24
Tours


Man gives tour of tiny rooftop NYC apartment with dizzyingly high rent
Nestled atop a building in the bustling heart of New York City is a unique tiny house apartment that has captured the imagination of millions. This rooftop gem boasts an exclusive wrap-around terrace that offers breathtaking views of Manhattan. This tiny house is more than just an apartment; it’s a sanctuary in the sky, offering...
Jake Manning
07.17.24


Man gives tour of his hand-crafted cedar “transforming” cabin that floats on the water
Elijah Chan
07.15.24
Recommended for you
Decorating
Decorating
Homeowner lays out 6 hula hoops and glues them end to end for magazine-worthy porch idea
Elijah Chan
06.14.24
Decorating
Woman removes shower curtain and grabs wooden beads to give bathroom a quick “new look”
Elijah Chan
02.13.24
Decorating
Interior designers share 17 things that they won’t pass up at thrift stores
Jessica Adler
11.08.23
Decorating
Woman takes heavy old “dish” to antiques show and learns it’s a 300-year-old piece of history
Jessica Adler
07.26.23
Decorating
Interior designers share 8 things you should never buy at HomeGoods, plus 12 things you definitely should
Eduardo Gaskell
07.06.23
Recommended for you
Cleaning
Cleaning
Here’s Why You Should Always Put An Aluminum Foil Ball In Your Dishwasher
Jake Manning
08.14.24
Cleaning
You Should Never Use Your Oven’s Self-Cleaning Feature, Here’s Why
Jake Manning
08.12.24
Cleaning
How to deep clean window tracks and keep them that way
Michael Dabu
07.12.24
Cleaning
Furniture and items that housecleaners absolutely loathe
Michael Dabu
07.11.24
Cleaning
Most people have no idea tossing a couple of ice cubes in the dryer is so beneficial
Michael Dabu
06.14.24
Cleaning
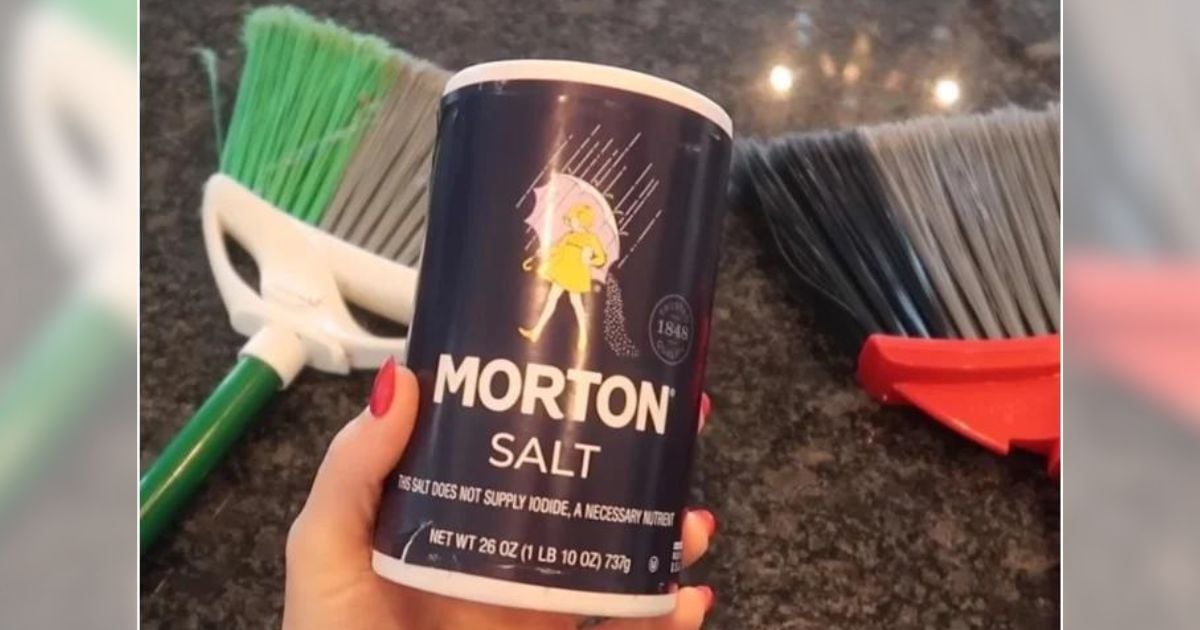

Why you should be pouring salt on your broom at night
Have you ever wondered why your broom doesn’t seem to work as well as it used to? Or maybe you’ve noticed that the bristles are starting to look a bit worse for wear. In a recent video that has garnered over 2 million views, a simple yet effective broom maintenance hack is revealed, using nothing...
Michael Dabu
06.14.24
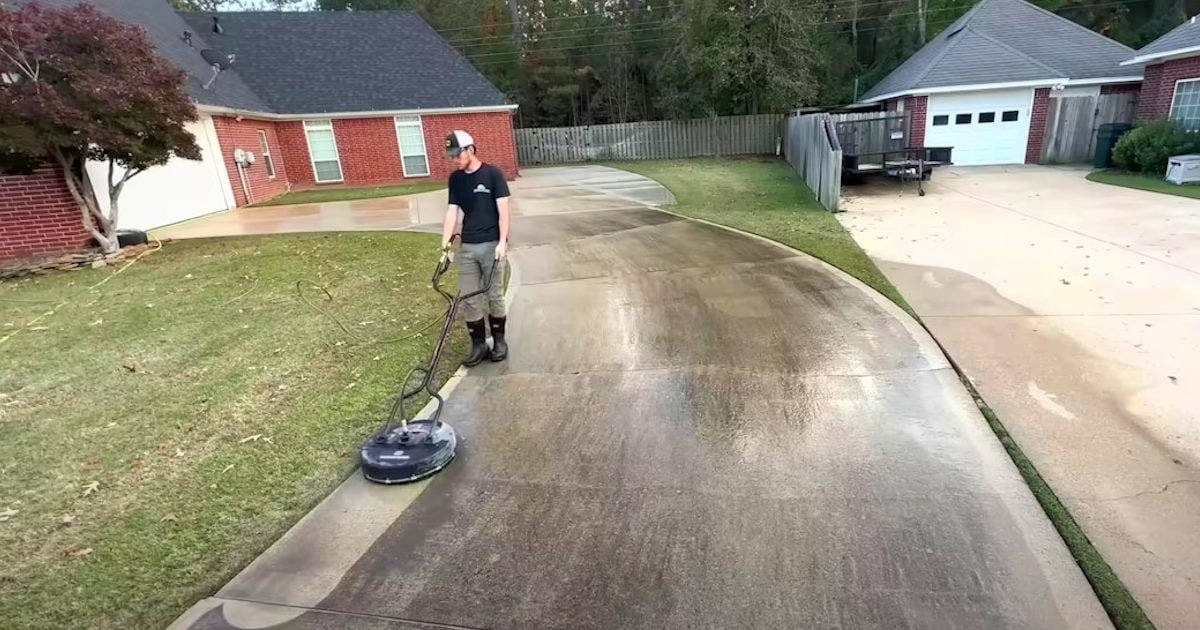

Man offers to clean stranger’s driveway and incredible ‘makeover’ scores 7M views
Jake Manning
06.09.24
Recommended for you
More from Home Hacks
Trending


Trending
Goose taps on police officer’s car and asks for help
Jake Manning
11.28.24
Trending


Trending
Family puts bluegrass spin on Lady Gaga song for Voice audition
Jake Manning
11.27.24
Trending


Trending
Gigantic dog guards bus stop until little girl safely departs
Jake Manning
11.27.24
Trending


Trending
Tom Jones sang with Janis Joplin in 1969, and it’s still being called the ‘best duet ever’
Jenny Brown
11.26.24
Trending


Trending
Sperm whale swims to diver “asking” for help with a stuck hook
Jenny Brown
11.26.24
Crafts & DIY


Crafts & DIY
Woman cuts old sock and turns it into the cutest snowman around
Jake Manning
11.20.24


